Pages - Menu

26 December 2013

Origami Heart


MERRY CHRISTMAS!!

A simple yet beautiful Origami Heart designed by Francis Ow.

Instructions on Francis Ow's website : Two Simple Heart: http://web.singnet.com.sg/~owrigami/hearts.htm

Video Tutorial by Tadashi Mori :


Time required: 5 minutes for one model

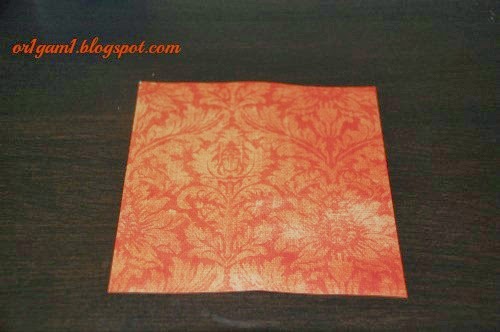
Paper used: Color printer sheets. (Colored on both sides)

Paper size : Any rectangular paper (that is sides of ratio 1:2). I have used 3 inch x 6 inch for this one.

Difficulty : Simple.

No of Units : Single sheet

No glue


24 December 2013

Origami Crane


Origami Crane(orizuru in Japan) is a traditional and one of the most famous Origami designs. It is a simple and great model to try for beginners. It is also considered very auspicious in Japan.

Difficulty : Simple and great for beginners.
Time Required : 10 - 15 min
No of sheets:  One square sheet. I have used 6 inch square sheet for the model in the photo.

Starting from Square Base, following are step by step folds to make an Origami Crane.

1. Square Base - http://or1gam1.blogspot.com/2013/12/how-to-make-origami-square-base.html


2. Fold the sides to meet the diagonal.

3. A triangle is formed above the folds. Fold it down to get a crease.


4. Open the triangle and the two side folds. Create a diamond  like fold like below, by bringing the tip up following the creases created. 


5. Repeat on the other side to get the below step


6. Repeat step 2 on the above fold. Repeat for the other side.


7. To get the neck. Squash fold like below.


8. Repeat on the other side, to get the tail


9. Fold the two upward flaps to get the wings


9. Squash fold the neck to get a beak. 


Extend the wings to collapse the sharp upper triangle to get the body of the crane


Video tutorial available here:


How to make Origami Square Base


One of the basic folds in Origami is the Square Base.Square Base is invariably used in many modules.

Following are the steps to make a Square Base.

1. To start with, I am taking a 6 inch square sheet. Colored on one side and white on the other.


2. Fold the paper (colored side up) in half vertically. 


3. Fold the paper in half horizontally to get the below crease on the white side.


4. Fold the paper along the diagonal with white side up. 


5. Repeat the folding along the other diagonal, with white side up, to get the below crease.


6. With these folds, we have divided the paper into four squares. For the final step, press the center of the square (marked in blue) inwards. Bring the two sides, marked in black, on the line, marked in orange. The two orange lines lie on each other.


After the fold it looks something like this: